Creating a homemade costume is always a frightfully fun way to celebrate the spooky season, especially if kids can get involved in designing or making their costume. Whether you’re donning a pair of ears for a Zoom call, or trick-or-treating in the backyard, these DIY costume ideas are simple, fun, and can each be made in under an hour (ideal for last minute looks)! This post includes printable templates to make your crafting extra easy, too!
Each of these DIY costumes use recycled cardboard as their base, so next time you unpack your favorite goodies from Primal Kitchen, hold onto the box...it’s a valuable crafting supply. I’m certainly not an artist, but I love the relaxation and creativity of whipping out my glue gun and seeing what I can make with just a few materials.
I picked four costumes inspired by the Primal Kitchen tribe’s hot Halloween picks: a magical unicorn headband, adorable Baby Yoda ears (“the Child” for Star Wars superfans, “baby yoda” for connoisseurs of internet cuteness), an Avo-Doggo (an avocado costume for the pup in your life), and a jar of Primal Kitchen Mayo, because who doesn’t love to play with their food?
This post includes printable templates and add-ons to make your crafting a cinch, so put on the Monster Mash, grab a Pumpkin Spice Collagen Latte, warm up the glue gun, and have fun!

“Do or do not, there is no try.” This classic Yoda quote was my motivation to make these ears in less than 30 minutes with just felt, glue, cardboard, and a headband. Look adorable, you will.

Time: Less than 30 minutes
Materials:
Felt
Cardboard Box
Plastic Headband
Glue Gun
Scissors
Instructions:
- Trace the ears onto your cardboard, then cut out the tracing.


- Sandwich the cardboard between your felt with about an inch of room on all sides. Once secure, trim the felt down to the shape, while leaving about an extra inch where the ear is going to connect to the headband.
- Glue along the edges of the cardboard. Press the felt together to create a seam, then trim off any extra felt.

- Lay the straight edge of the pink felt towards the bottom of the ear, then cut a rounded edge to make the pink 'inner ear.'
- Glue the pink felt to the green, trimming along the shape of your green ear. Repeat with the second ear.

- Cut a piece of green felt roughly 6-8 inches long. Glue the edge of that piece to the inside of the headband, to cover the section between the two ears with felt. Secure the felt to the top of the headband with glue, connecting and trimming to make a seam in the center inside of the headband (you can skip this step if you prefer to leave your headband white).

- Fold back the extra inch at the base of the ear and make a thick line of glue along the edge of the revealed cardboard. Hold against the headband until dry. Use the extra inch flap at the base of the ear to glue and wrap along the curve of the headband to secure the ear.

- Repeat with the second ear. Toss on a brown coat, grab a coffee cup, and ready, you are.
Unicorn Ears*
*You can use this template to make any animal ears, too!
My niece is obsessed with all things unicorns, and these ears are easy to make and even more fun to decorate with a little one! Be warned: if you use glitter, prepare to find it on everything for the next three days.

Time: 30 minutes
Materials:
Felt
Cardboard Box
Plastic Headband
Glue Gun
Scissors
Yarn or string
Optional: Quilt batting or cotton balls, glitter
Instructions:
- Trace the shape of the ears and horn onto your cardboard, then cut out the cardboard shapes.

- Use the cardboard ear shapes to trace and cut out felt for either side, leaving an extra few centimeters on all sides, with at least half an inch at the base where your ears will connect to the headband.
- Glue your felt onto the cardboard ears, pinching together the edges on both sides to create a seam, being sure to not secure the felt at the base of the ears.
- If you’d like to add dimension, add a few bits of batting or cotton balls/extra felt/any fabric into the ear, between the felt and the cardboard.

- Wrap the horn in batting (or any other fluffy material) and gently secure with glue. Repeat this process with the felt, wrapping the horn like it’s a burrito, then securing with glue.
- Wrap your yarn around the horn, a few centimeters apart, at an angle, to create the spiral of the horn. Tie off at either end, and snip off any extra yarn. (Don’t be discouraged if you have to wrap it a few times––it can be a finicky process!)

- Fold back the extra felt at the base of the ears and make a thick line of glue along the edge of the revealed cardboard. Hold against the headband until dry. Use the extra inch flap at the base of the ear to glue and wrap along the curve of the headband to secure the ears.

- Repeat this process with the horn, and adorn ears with extra felt, glitter, bows...however your magical, mythical creature wants to accessorize!

Avo-doggo
Even if your four-legged friend only keeps this costume on for 30 seconds, the 100s of pictures you quickly snapped will be worth it.

Time: approx 35-45 minutes.
Materials:
Felt
Cardboard box
Glue Gun
Yarn
Optional: quilt batting/cotton balls, elastic for straps
Scissors

Instructions:
- Cut a cardboard oval shape that’s roughly the length of your pet, then repeat, to create both sides of the costume.
- Cover each oval in green felt and secure with hot glue. I chose to outline each oval in a few strands of green yarn glued down, for definition.

- Cut out a second oval out of lighter green felt, and secure with hot glue.

- Cut out a circle of brown felt for the pit, and create a half circle in hot glue around the edge. Press and secure down, then stuff batting, cotton balls, or extra felt to create dimension. Add glue to the other half of the circle and press down to secure.

- I used elastic covered in felt for the connecting straps, but you could also just fold and glue two strips of felt. These straps will go across the top so the avocado lays comfortably on either side of the dog’s belly. I made the one closer to my buddy Bingo’s head a bit smaller than the second one that’s closer to his tail. You’ll want to measure these to make sure the two sides sit flat and cozy. Secure them with hot glue, and hold down until the glue cools and hardens.

- On the underside, glue a doubled up strand of yarn on each piece of cardboard, to gently tie the costume around your dog’s belly. Voila, avo-doggo!
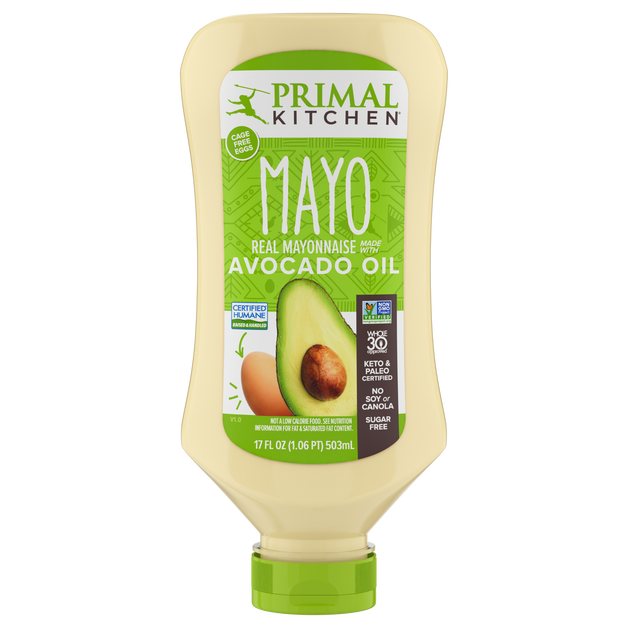
They say you are what you eat, so naturally I had to make a mayo! I chose to paint this ‘jar’ but for an even faster DIY, use colored construction paper to add green accents. Since the paint job on this cardboard is so simple, it’s a soothing activity for kids and adults alike.

Time: Less than 30 minutes crafting time, plus time for paint to dry
Materials:
Cardboard box
Ribbon
Duct Tape
Glue Stick
Printable Icons, Label, and Logo
Optional: Border cardboard or corrugated cardboard (inexpensive and found at craft or office/school supply stores)
Paint*
Paintbrush
*You can also use colored paper or construction paper instead of paint.
Instructions:
- Cut your cardboard into the jar shape by cutting off the corners at the bottom of your flat box, then cutting in two sideways ‘Vs’ at the top to make the groove of the cap.
- Use white paint to cover the entire jar. You might need two coats to cover the cardboard color.

- While the paint dries, cut two strips of the border cardboard and use a glue stick to adhere them to your cap.
- Print, cut out and paste the printable labels onto the center of your jar.

- Add green paint to either side of the label, and two strips of green paint to the top and bottom of the labels.

- Once dry, use duct tape to attach a strand of ribbon on either side of the back of the cap. Boo-tiful!

